工具-github+typora+PicGo图床
github图床
github
- 获取tokens
- Settings => Developer settings => Personal access tokens => New personal access token
设置Note,选择
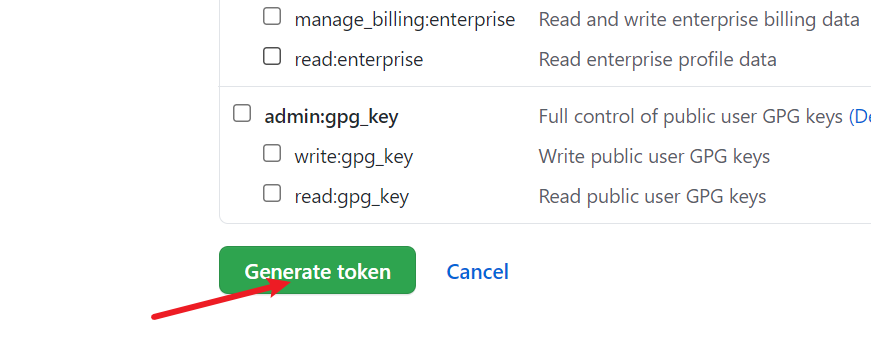
repo,Generate token生成token,复制生成的token(只显示一次)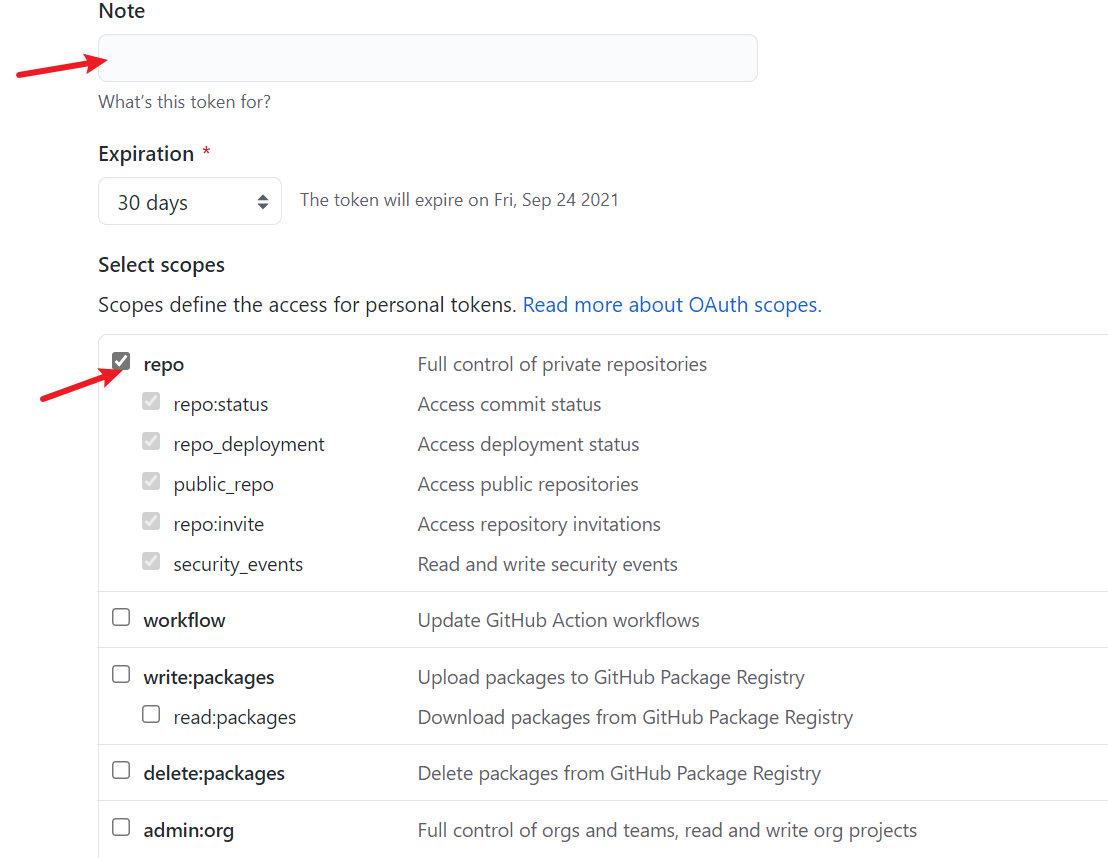

Typora
window
- 下载PicGo-Core(
好像需要安装node)
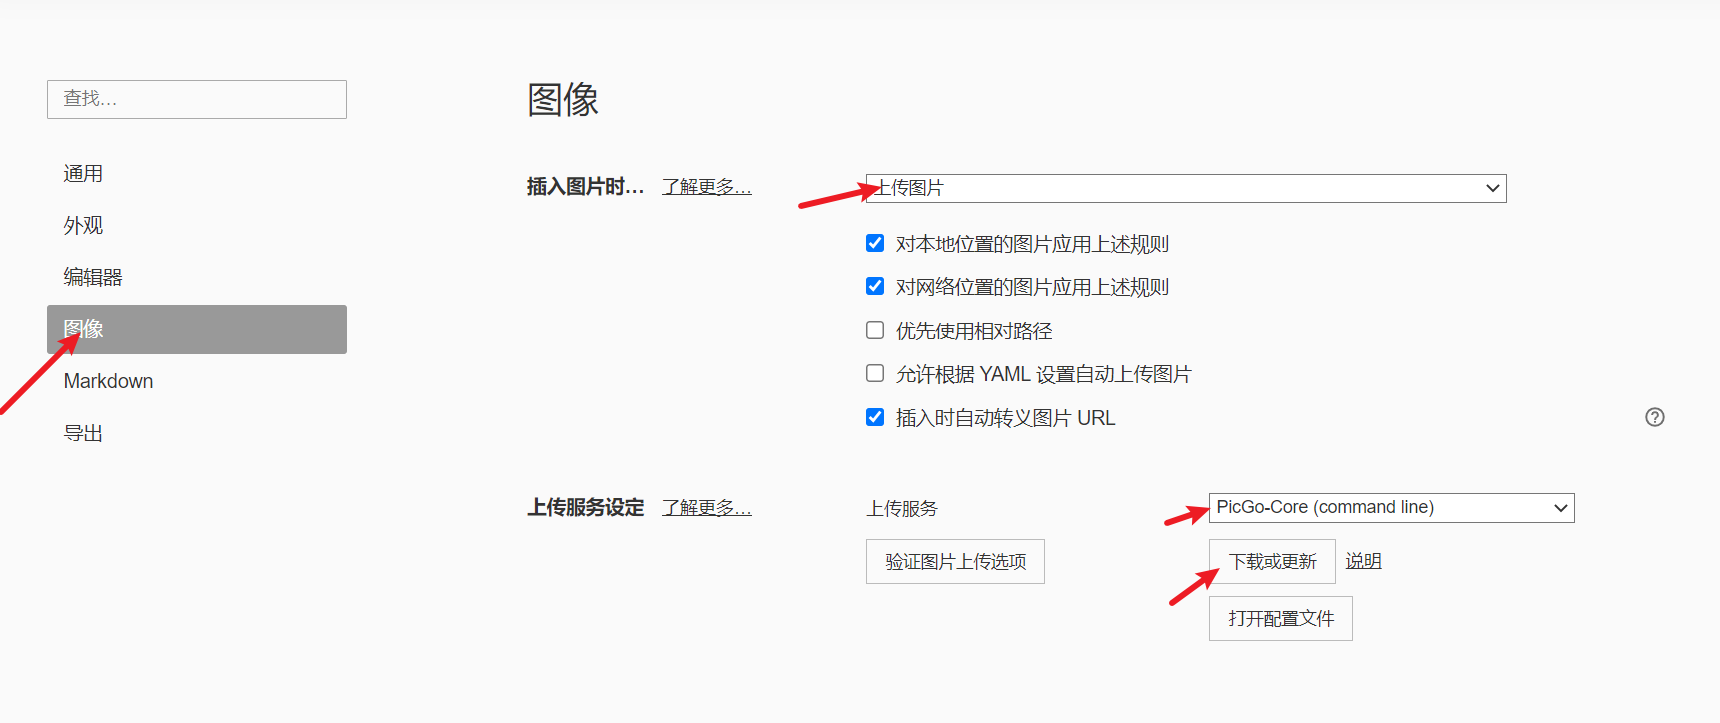
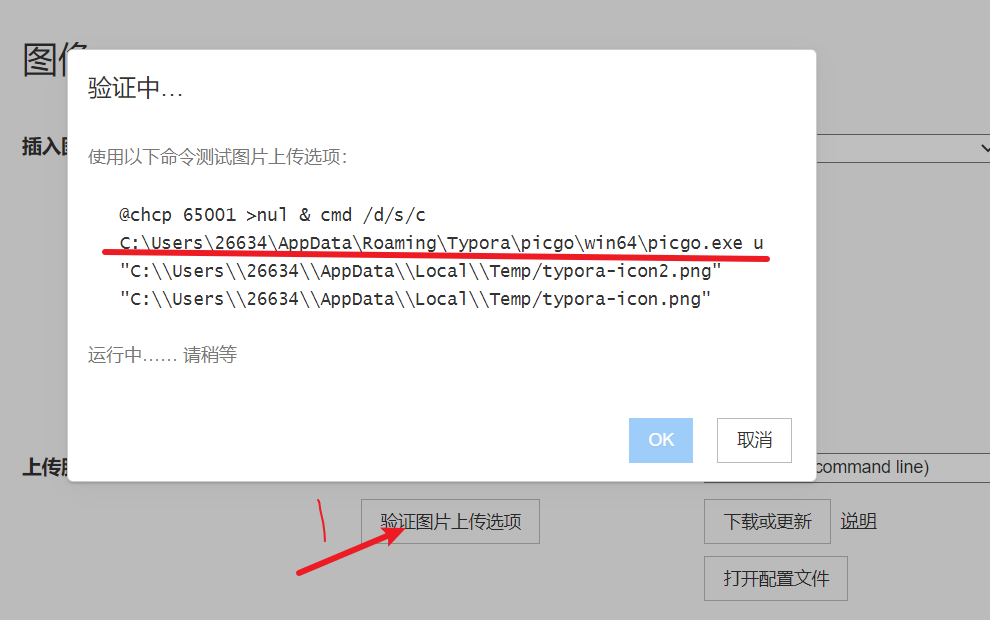
- 偏好设置 , 图像,PicGo-Core,下载或更新,下载完后点击验证图片上传(查看位置)
- 安装
github-plus插件
1 | # 转到picgo位置 |
- 配置
- 回到
typora, 打开配置文件(C:\Users\你的用户名\.picgo\config.json),设置如下
1 | { |
https://cdn.jsdelivr.net/gh/用户名/仓库cdn加速访问
- 上传的时候重命名
- 在picgo所在目录下安装[rename-file](Issues · liuwave/picgo-plugin-rename-file (github.com))插件**
(picgo-plugin-rename-file)npm淘宝源没有,需要换回原来的**
1 | 查看源 |
- 打开配置文件在最后添加
1 | "picgo-plugin-rename-file": { |
- 验证图片上传
Linux
- 安装
picgo
1 | npm install picgo -g |
- 安装
github-plus
1 | picgo install github-plus |
- 安装
rename-file插件
1 | 查看源 |
- 配置文件(位置:
~/.picgo/config.json)
1 | { |
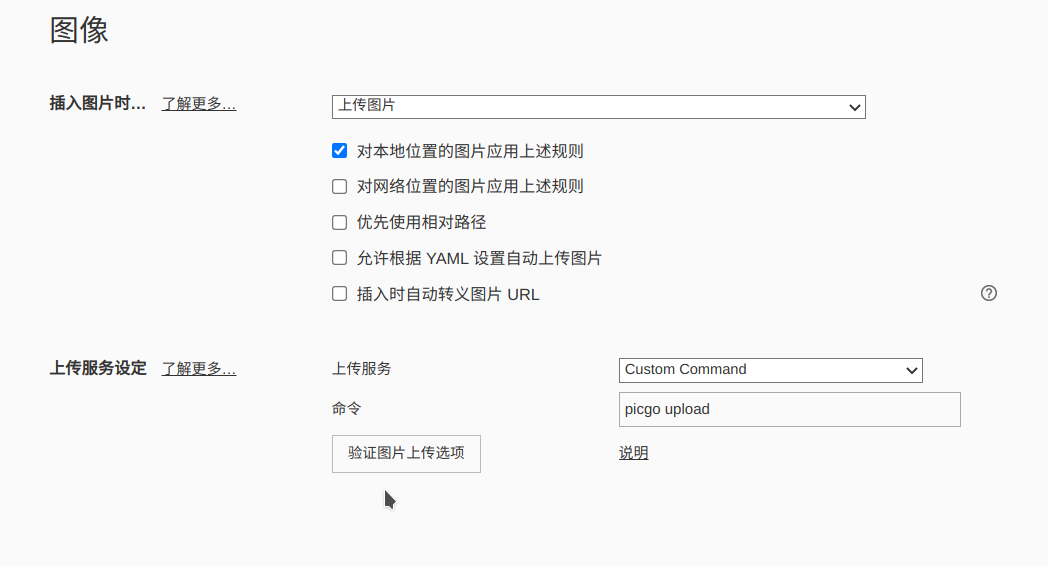
- 在typora中:选择图像 - 上传服务 - Custom Command - picgo upload
